
This quick start guide will get you up and running on SyncTap in 60 seconds or less.
Pre-requisites (this will make the process smoother):
- An active Facebook ad account with at least advertiser access
- SyncTap should be installed in your Shopify store
- Be logged in to your personal Facebook profile that has access to the ad account you want to sync
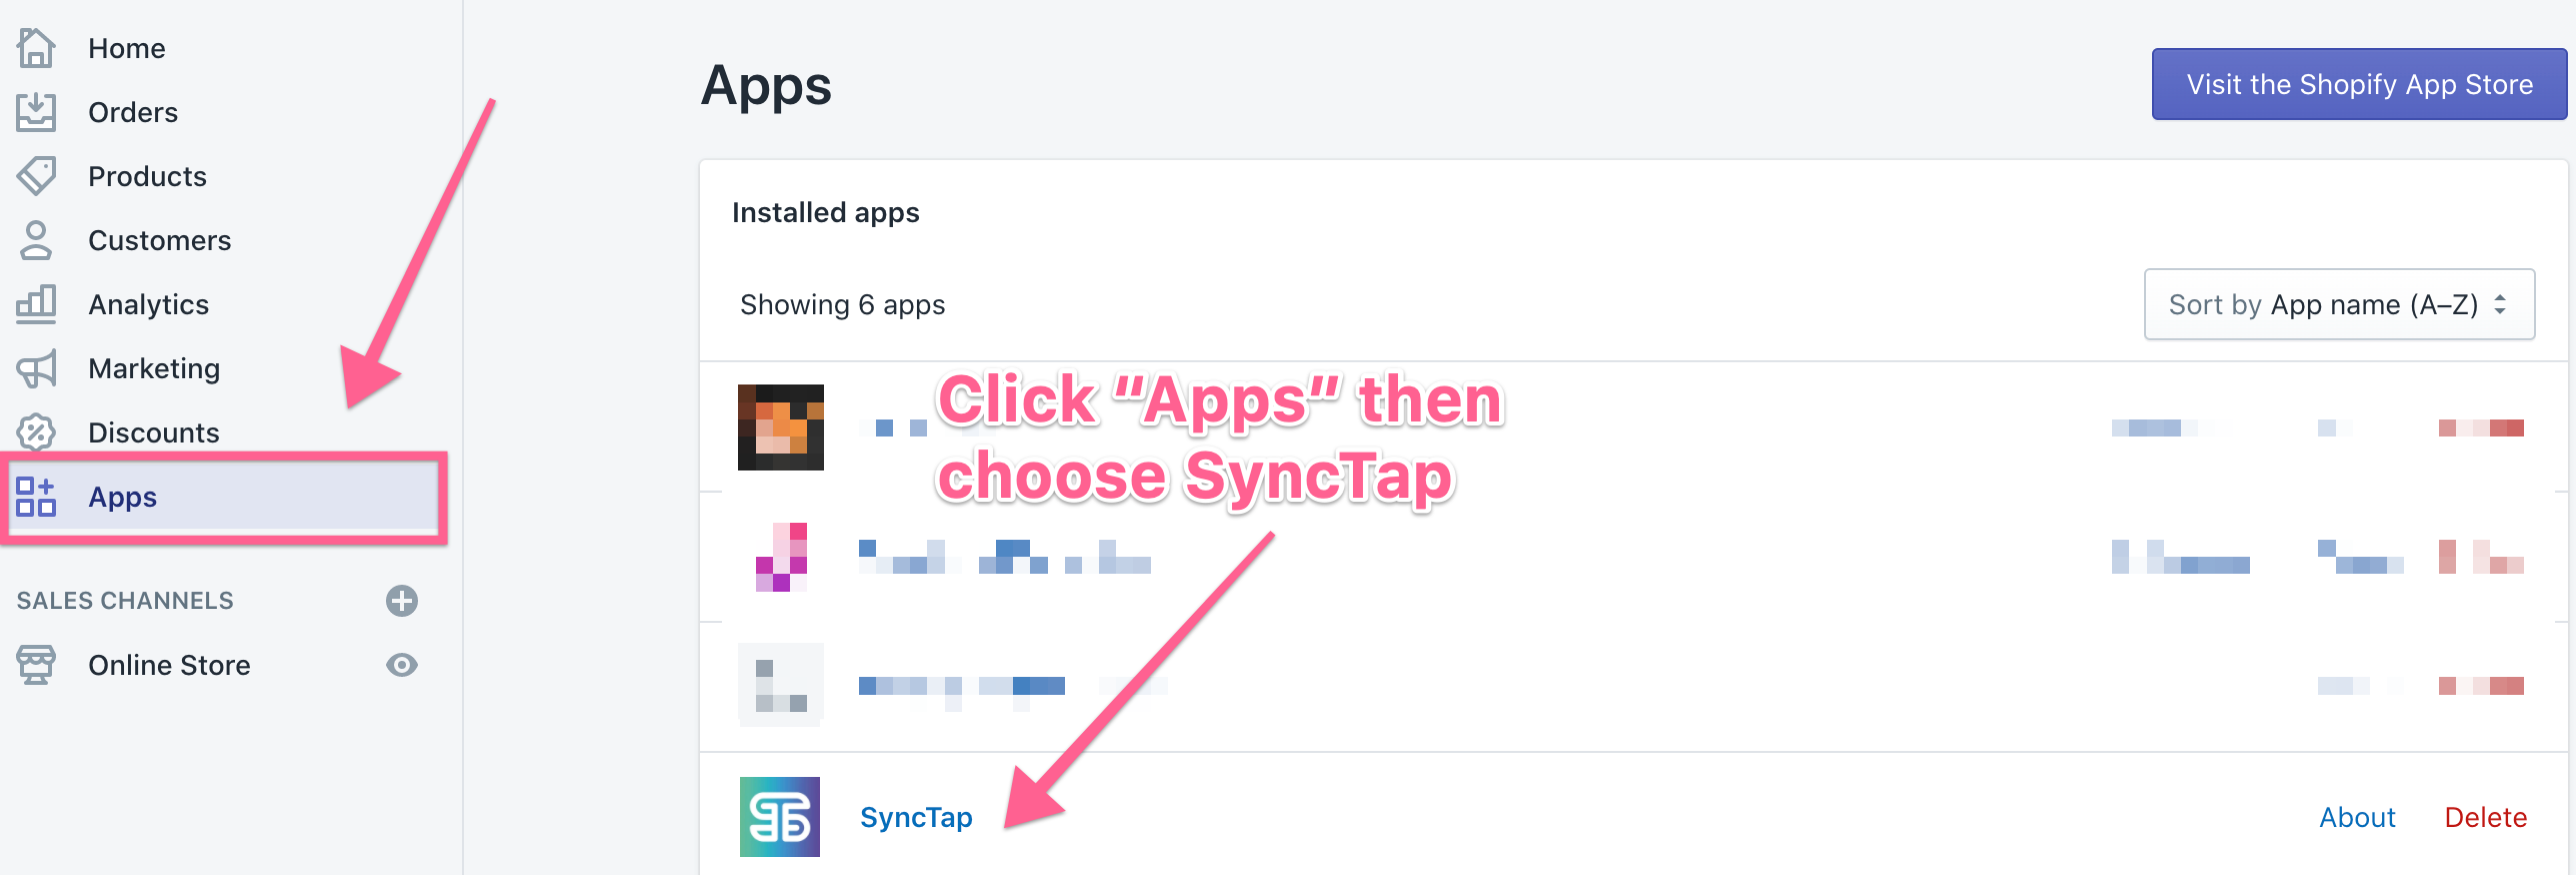
Step 1: Locate SyncTap in Your Shopify
After you install SyncTap from the Shopify app store, navigate to the "Apps" menu item in the left hand navigation menu.
Then choose SyncTap from the list of apps that appear.
Step 2: Authenticate Your Facebook Ad Account

Step 3: Deploy Your First Custom Audience
Once you've successfully authenticated your ad account, SyncTap is ready to use!
Most users start with deploying the most foundational custom audience: All Customers.
Choose "Create Customer Based Audience" from the top navigation menu.
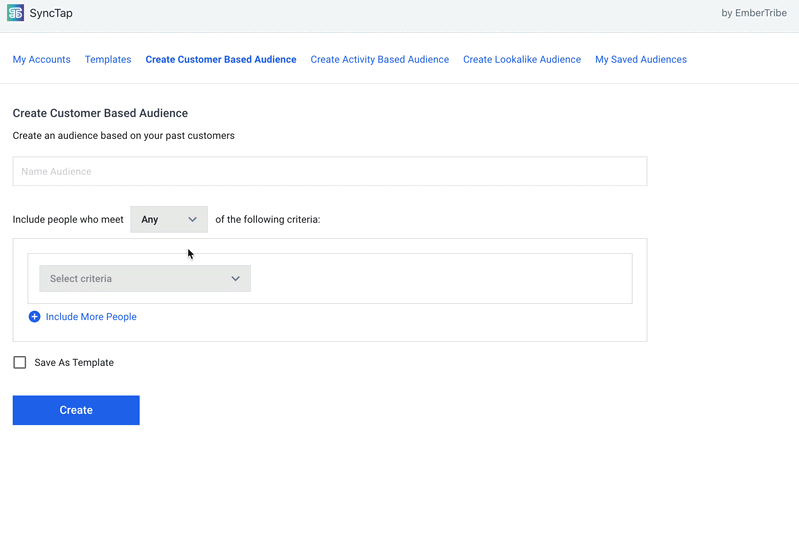
Name your audience, select the criteria for your audience (in this example, "All Customers").
Then choose Create.
That's it! You're up and running.
You'll see this audience populate in the "My Saved Audience". It will also appear within your Facebook ad account as an option to target in your campaigns.
Comments
0 comments
Article is closed for comments.